

Unable to Turn on HDR in Windows 11
If you’re Unable to Turn on HDR in Windows 11 computer, there are a few troubleshooting steps you can try to resolve the issue. Here’s a quick fix guide to help you:
- Update Graphics Drivers: Make sure you have the latest graphics drivers installed on your computer. Outdated drivers can cause compatibility issues with HDR. Visit the website of your graphics card manufacturer (e.g., NVIDIA, AMD, Intel) and download the latest drivers for your specific graphics card model.
- Check HDR Compatibility: Ensure that your display and graphics card support HDR. Check the specifications of your monitor or TV and verify that it is HDR-capable. Additionally, confirm that your graphics card also supports HDR.
- Enable HDR in Display Settings: Here’s how to enable HDR in Windows 11:
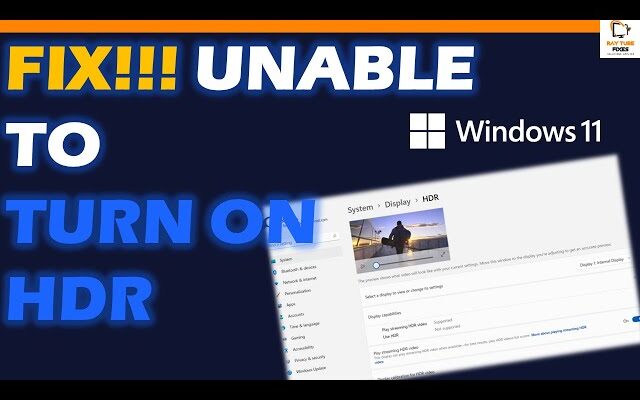
- Right-click on the desktop and select “Display settings.”
- Scroll down and click on “Advanced display settings.”
- Under the “Windows HD Color” section, toggle on “Play HDR games and apps.”
- Scroll down further and click on “Windows HD Color settings.”
- Toggle on “HDR” under the “Use HDR” section.
- Disable Third-Party Software: Some third-party software or utilities may conflict with HDR settings. Temporarily disable any software that modifies display settings, such as color calibration tools or graphics enhancement programs. Restart your computer and try enabling HDR again.
- Check HDMI/DisplayPort Cable: Ensure that you’re using a high-quality HDMI or DisplayPort cable capable of transmitting HDR signals. Try using a different cable to rule out any potential cable issues.
- Restart Windows HDR Service: If the HDR option is still not working, you can try restarting the Windows HDR service by following these steps:
- Press Win + R to open the Run dialog box.
- Type “services.msc” and press Enter to open the Services window.
- Scroll down and locate the “Windows HDR” service.
- Right-click on it and select “Restart.”
- Close the Services window and check if HDR is now working.
- Run Windows Update: Make sure your Windows 11 operating system is up to date. Windows updates often include bug fixes and improvements, so installing the latest updates may help resolve the HDR issue.
If you prefer to use the Registry Editor to fix the issue with enabling HDR in Windows 11, you can follow these steps:
Note: Modifying the Windows Registry can be risky, and any incorrect changes may cause system instability or other problems. It is highly recommended to create a backup of your Registry or create a System Restore point before proceeding.
- Press Win + R to open the Run dialog box, then type “regedit” and press Enter. This will open the Registry Editor.
- Navigate to the following path:
HKEY_LOCAL_MACHINE\SOFTWARE\Microsoft\Windows\CurrentVersion\Display - In the left pane, right-click on the “Display” key, select “New,” and then click on “DWORD (32-bit) Value.”
- Name the new value “EnableHDR.”
- Double-click on the “EnableHDR” value and set its data to “1” (without quotes).
- Click “OK” to save the changes.
- Close the Registry Editor.
- Restart your computer.
After the restart, check if you can enable HDR in the Display settings by following the steps mentioned in the previous response (“Enable HDR in Display Settings”). If the option is still unavailable or doesn’t work as expected, you can try reversing the changes by setting the “EnableHDR” value to “0” or delete the “EnableHDR” value altogether.
Remember to proceed with caution when modifying the Registry, and it’s recommended to seek expert assistance or backup important data before making any changes.