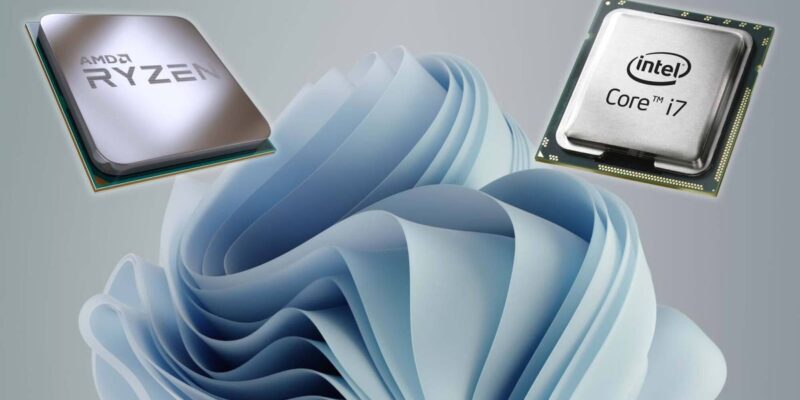
Windows 11 does not run on old Intel or AMD processors, but it can beinstalled; here’s how.
After releasing its Windows 11 operating system (OS) on June 24, this year, Microsoft received some backlash on social media. Several users felt left out because they were unable to install the operating system due to its high minimum system requirements. However, the American tech behemoth recently announced a workaround as well as a few other updates that may put users at ease.
Windows 11 still does not support older Intel and AMD processors, but users can manually download and install the operating system. Continue reading to learn more about Windows 11 processor requirements, how to install the operating system, and other topics.
Microsoft will not prevent users from installing Windows 11 on unsupported platforms.
Microsoft announced on August 27, 2021, that it would not prevent users from installing the latest Windows 11 operating system on older PCs. However, if a user attempts to install the latest version of Windows via the device’s default updating system, they will be unable to do so.
Instead, users can download the Windows 11 ISO file and manually install it on systems that do not meet the OS’s minimum system requirements. It should be noted that if the operating system is manually downloaded on an old device, Microsoft cannot guarantee system reliability or driver support.
Although manual Windows installation is a little difficult, it would allow millions of computers around the world to benefit from the latest Windows 11 experience. This means that compatible processors and Windows 11’s minimum system requirements are no longer relevant. Anyone with a 1GHz (64 bit) processor with two or more cores, 64GB of storage, and 4GB of RAM will be able to download and install Microsoft’s latest operating system.
System requirements for Windows 11
Microsoft is also revising the minimum system requirements for Windows 11. According to The Verge, the Windows 11 update will now support Intel’s Core X-series and Xeon W-series processors. If you’re wondering which Intel 7gen processor supports Windows 11, the answer is the Intel Core 7820HQ, which comes standard with the Surface Studio 2. However, AMD Zen 1 CPUs and Intel 7th generation CPUs will not be supported by Microsoft Windows 11. Users can, however, manually install the operating system. The standard processor requirement for Windows 11 remains the Intel 8th generation & AMD Zen 2 or higher.
What Exactly Are Windows 11 Virtual Desktops? How To Use, Features, And Other Information
Microsoft is working to improve its Windows operating system in order to provide a more intuitive and seamless user experience. There are numerous multitasking features in Windows. A user of Windows 10 can use features like split-screen to work on two or more applications at the same time. There is also another feature that allows users to create multiple desktops for different types of tasks. Virtual Desktops is a feature that allows a user to create multiple desktops on a system.
What exactly are Virtual Desktops in Windows 11?
Virtual Desktops in Windows 11 are, as the name implies, separate desktops that can be created by a user for organising various types of tasks such as working or gaming. Virtual Desktops, similar to how everyone has a desktop that serves as an interface between an operating system and a user, allow a user to create multiple home screens on a Windows-powered device to perform different tasks. For example, all work-related applications such as Word, PowerPoint, and MS Teams can occupy a separate virtual desktop, while
a user can continue to use apps such as Netflix or another desktop. Although the feature is already available in Windows 10, it will be improved in Windows 11.
How do I use virtual desktops in Windows 11?
- Right next to the Search Box and the Cortana shortcut on the taskbar, click the Desktops icon.
- If the icon does not appear on the Taskbar, press the Windows and Tab keys simultaneously to open the Virtual Desktops screen.
- The Virtual Desktops Menu displays all of the desktops that are currently active. It also displays all of the active applications on the system at any given time.
- Users must click on the plus icon in the top left corner of the screen to activate a new desktop. Users can also switch to a new virtual desktop by pressing Win +CTRL + D on the keyboard.
- Once created, a virtual desktop can be renamed to reflect the user’s preferences or for easy identification by the user.
- Users can reorder Virtual Desktops on a computer by dragging them over one another or right-clicking on them and selecting ‘Move to left/right’.
- Users can modify the background of a virtual desktop without affecting the other desktops. It is possible to do so by right-clicking on a desktop background and selecting ‘Choose Background.’
- After creating multiple Virtual Desktops, a user can divide active apps between them by dragging the app tiles to the desktop in the Virtual Desktops Menu.


