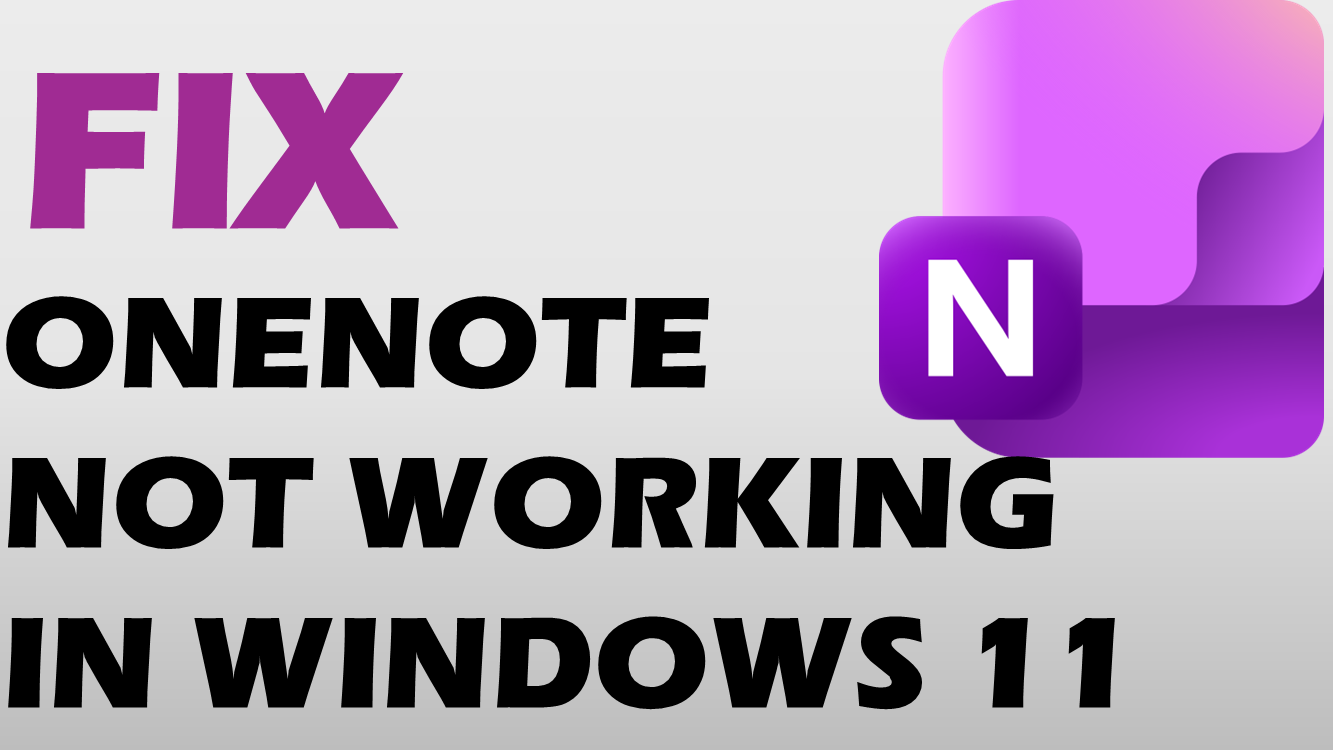
“We couldn’t start OneNote the last time we tried” error
To fix the “We couldn’t start OneNote the last time we tried” error, try the three buttons on the error pop-up first, starting with Normal Mode.
How to Solve:
- Start Normally: Click this first. Sometimes it was just a temporary glitch.
- Delete Notebook Cache: If starting normally fails, reopen OneNote and click this. It clears stuck files but might take time to re-sync your notes.
- Delete Settings: If the top two options fail, click this to reset your OneNote app settings to default.
- Close all Office apps.
- Open your Windows Control Panel.
- Click User Accounts and then choose Credential Manager.
- Select Windows Credentials.
- Look for any item with MicrosoftOffice or MicrosoftAccount in the name.
- Click the arrow next to them and select Remove.
- Restart your computer and try opening OneNote again.
- Right-click your Windows Start menu button and choose Installed apps (or Apps and Features).
- Scroll down to find your Microsoft Office or Microsoft 365 product.
- Click the three dots (or right-click) and select Modify.
- Choose Quick Repair and click Repair.
- If the problem stays, repeat the steps but choose Online Repair instead.
- Make sure OneNote is completely closed.
- Press the Windows Key + R on your keyboard to open the Run box.
- Type
%localappdata%\Microsoft\OneNoteand hit Enter. - Open the folder named after your version number (usually 16.0).
- Look for a folder named Cache, right-click it, and Delete it.
- Press Windows Key + R to open the Run dialog.
- Type services.msc and press Enter.
- Scroll down, right-click Windows Firewall (or Windows Defender Firewall), and select Properties.
- Set the Startup type to Automatic, click Apply, and then click Start if the service is stopped.
- Restart Outlook and try previewing your attachment.
Disable Protected View (Alternative)
If your organization requires the firewall to be disabled, you can bypass the preview restriction by turning off Protected View within your Office apps:
- Open Word or Excel (this must be done in the standalone app, not Outlook).
- Go to File > Options.
- Select Trust Center > Trust Center Settings.
- Click Protected View and uncheck Enable Protected View for Outlook attachments.
- Click OK, restart Outlook, and check if the preview works.
Repair Office
1. Open Control Panel
Click the Windows Start button, type Control Panel into the search box, and select it from the results.
2. Access Installed Programs
Under the Programs category, click Uninstall a program. (If your Control Panel is set to large/small icons, click Programs and Features directly).
3. Locate Microsoft Office
Scroll down the list until you find your Office version (e.g., Microsoft 365, Microsoft Office 2021, or Microsoft Office 2016).
4. Initiate the Repair
Click on the Office application to highlight it, and then click Change at the top of the program list.
5. Choose Repair Option
A window will pop up asking how you would like to repair your programs. Select Online Repair, then click the Repair button.
Note: A Quick Repair option is also available and fixes most issues faster without needing an internet connection, but Online Repair does a more thorough cleanup and restoration.
6. Complete and Restart
Let the process run (it may take 10-20 minutes depending on your internet speed). Once finished, restart your computer and try opening your Office applications again.